Session settings in the session manager
After creating a desktop and adding sessions, you can configure which columns of information will be displayed. This makes the interface more informative and convenient to work with.
Columns displayed by default
The set of columns displayed by default depends on the interface design selected when the program is first launched.
There are two:
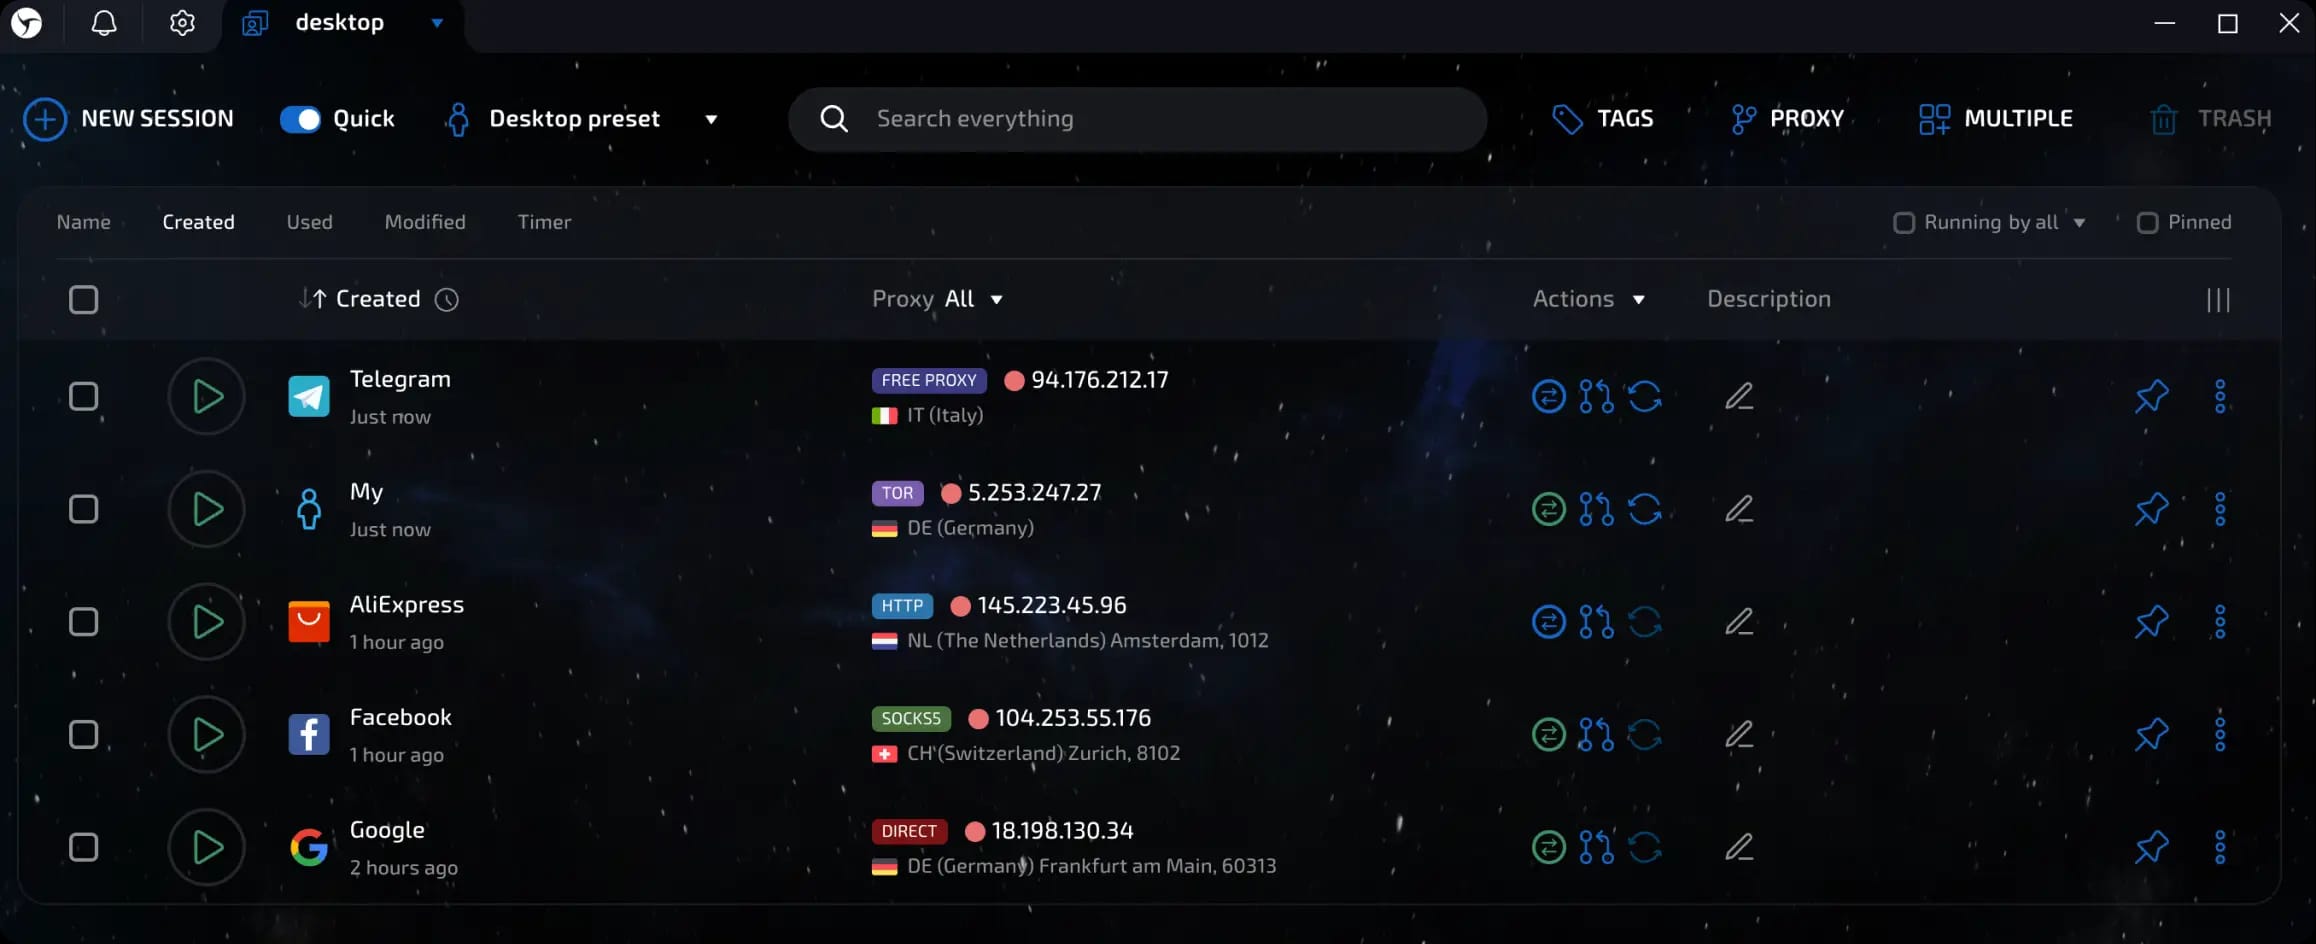
Minimalist
Columns displayed:
Session start/stop button
Session name
Connection
Actions
Description
Pin/unpin session button
invisible text for space
Advantages
Clean look
Most important data
Convenient for small screens
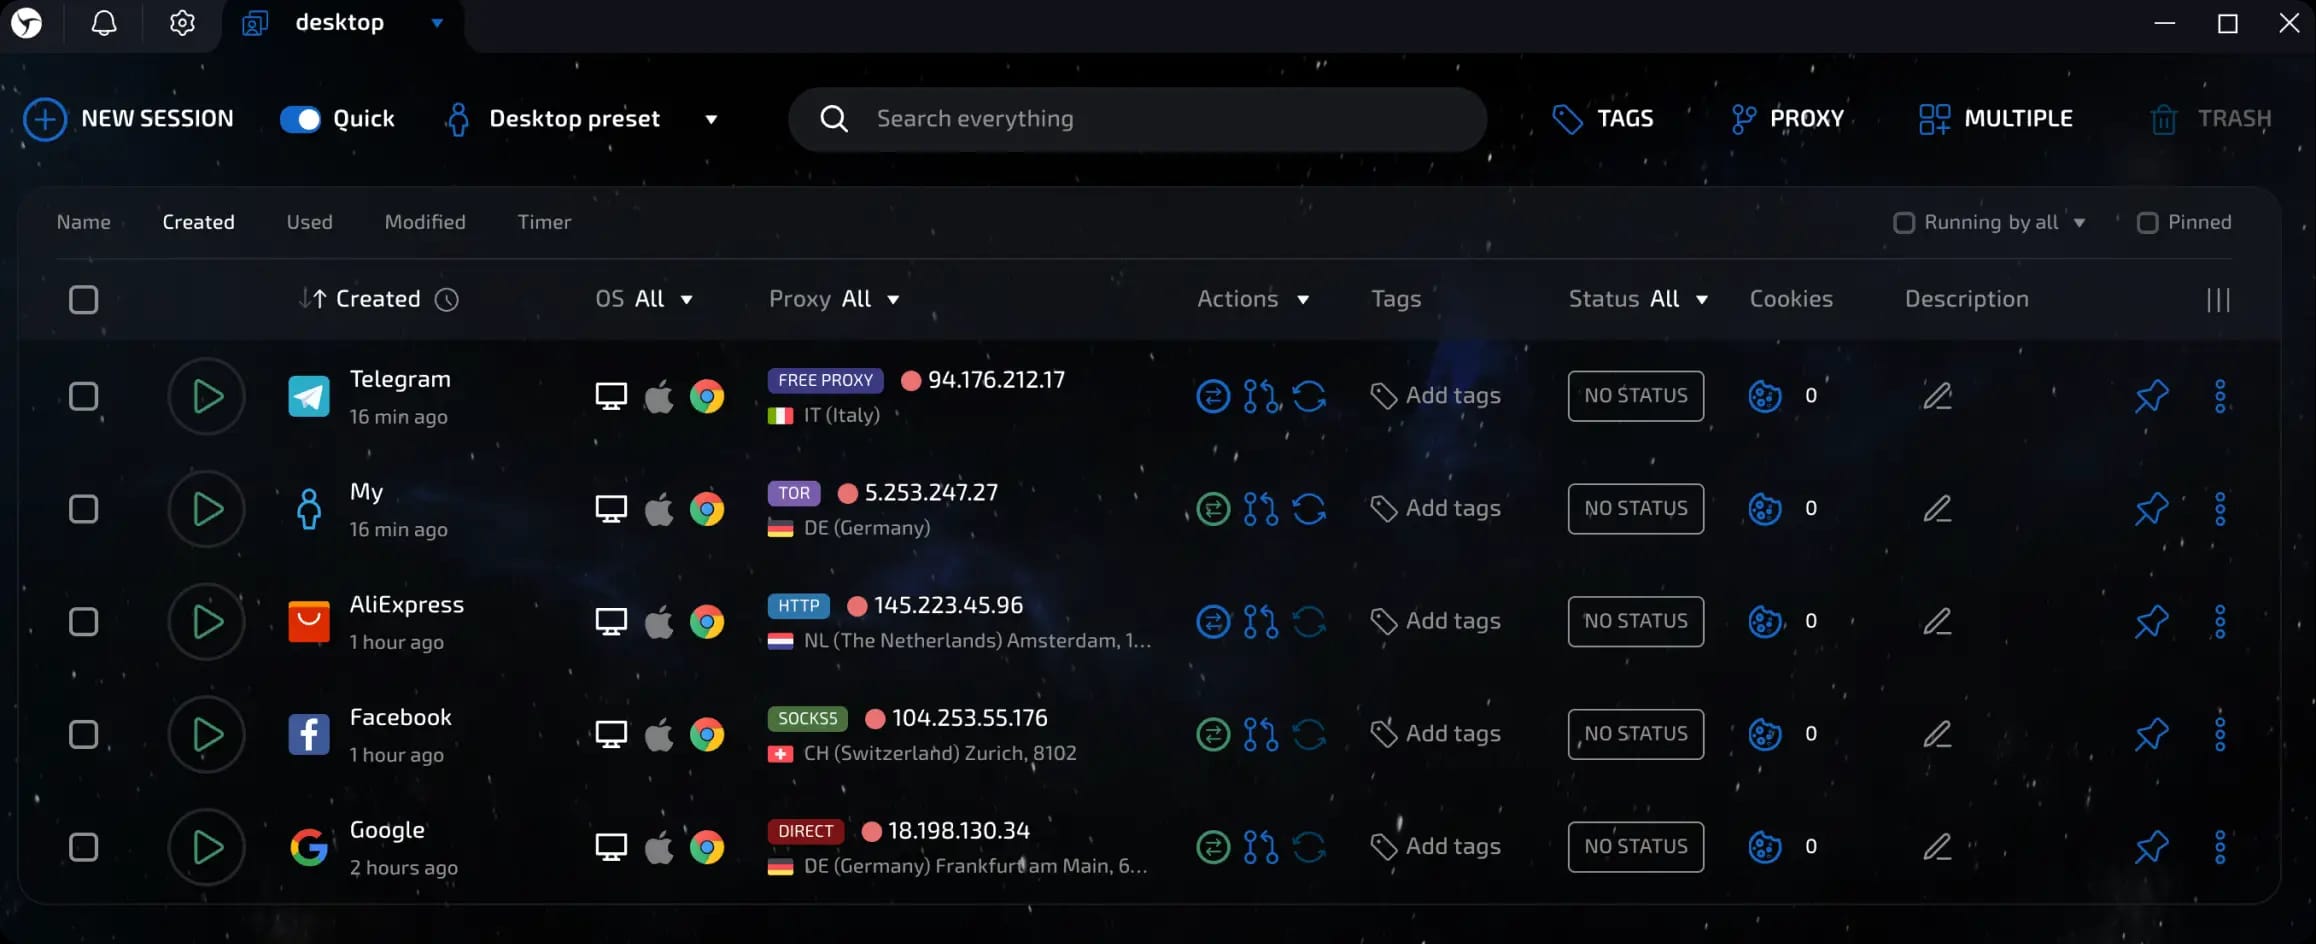
Informative
Displayed columns (all available):
Session start/stop button
Session name
Configuration
Connection
Actions
Tags
Statuses
Cookies (number and shortcut for quick access to Cookies Manager)
Description
Session pin/unpin button
invisible text for space
Advantages:
Detailed view
Extended data display
Recommended for large screens
After creating a session, the following data is displayed on the desktop:
Session name
Proxy
Actions (smart shortcuts):
Check proxy
Set proxy
Change IP
Session description (in Markdown format)
Pin/unpin session button
invisible text for space
Let's take a closer look at smart shortcuts.
Smart shortcuts are displayed in a separate column on the desktop and allow you to perform the necessary actions with a single click.
How to add shortcuts
Click on the "Actions" drop-down menu.
Check up to six shortcuts that you want to see and, if necessary, set the order you want.
Click "Save."
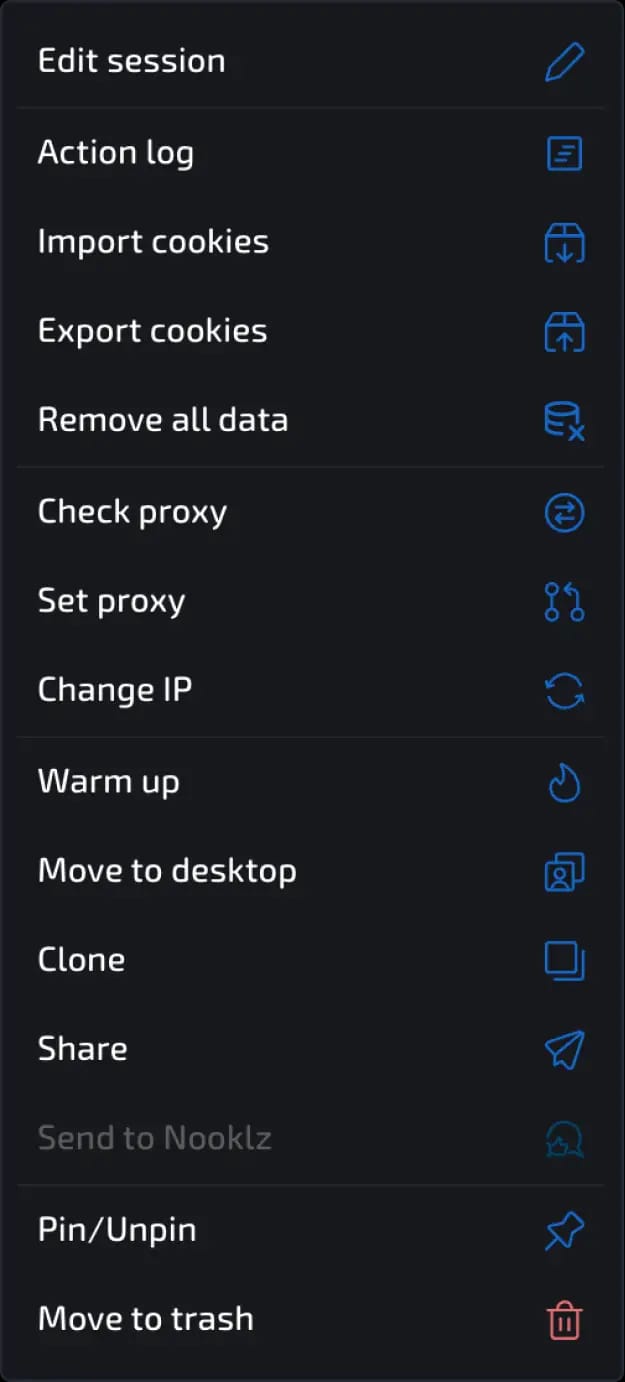
Available shortcuts
Edit Session - opens the current profile settings window.
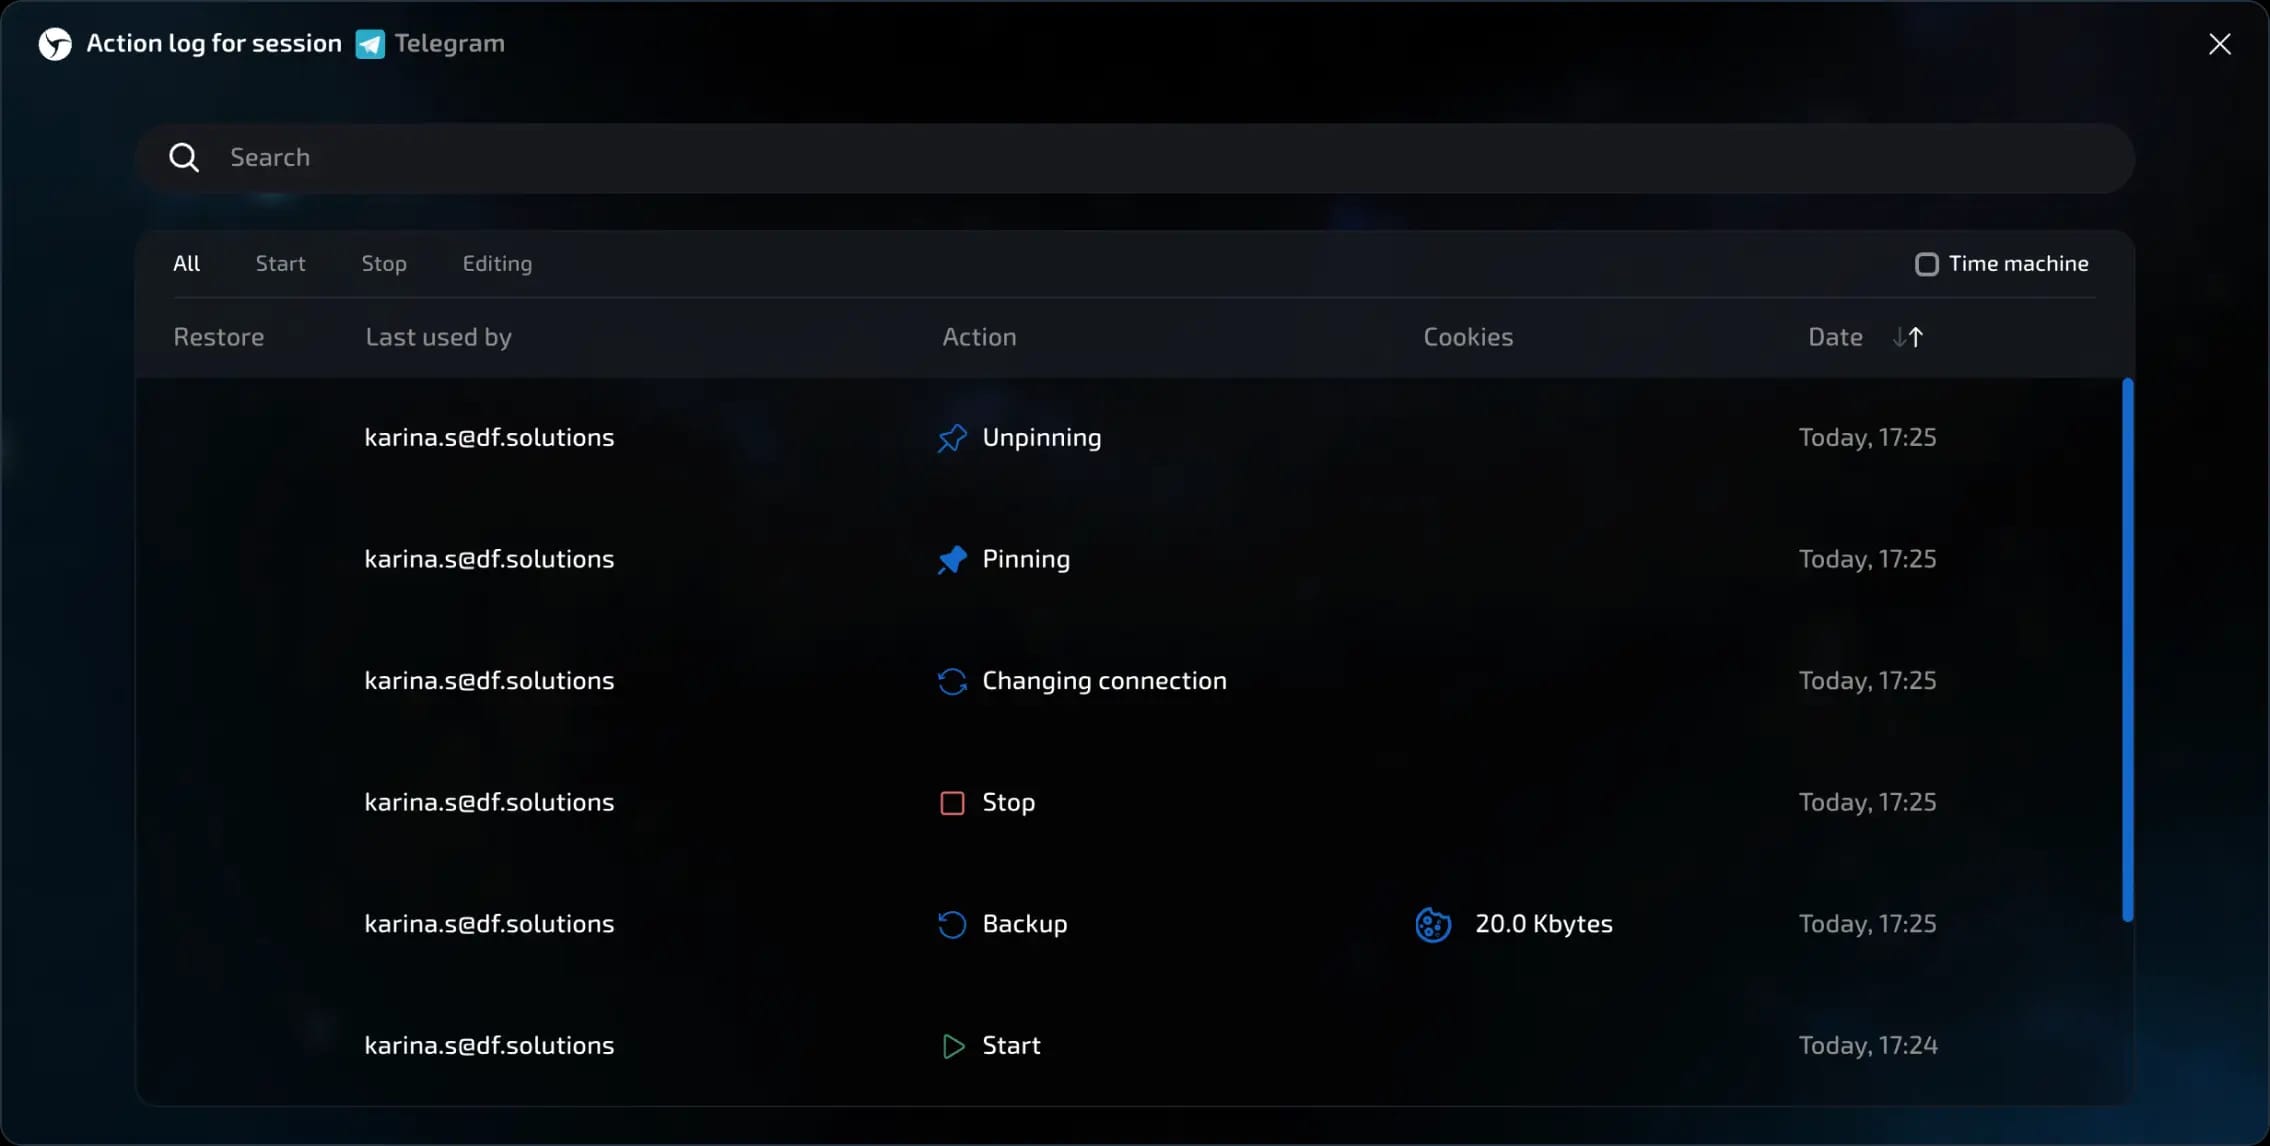
Action log - allows you to view the chronology of each session's life cycle and restore data from backups if necessary.
Import Cookies - allows you to upload a cookie file to your profile.
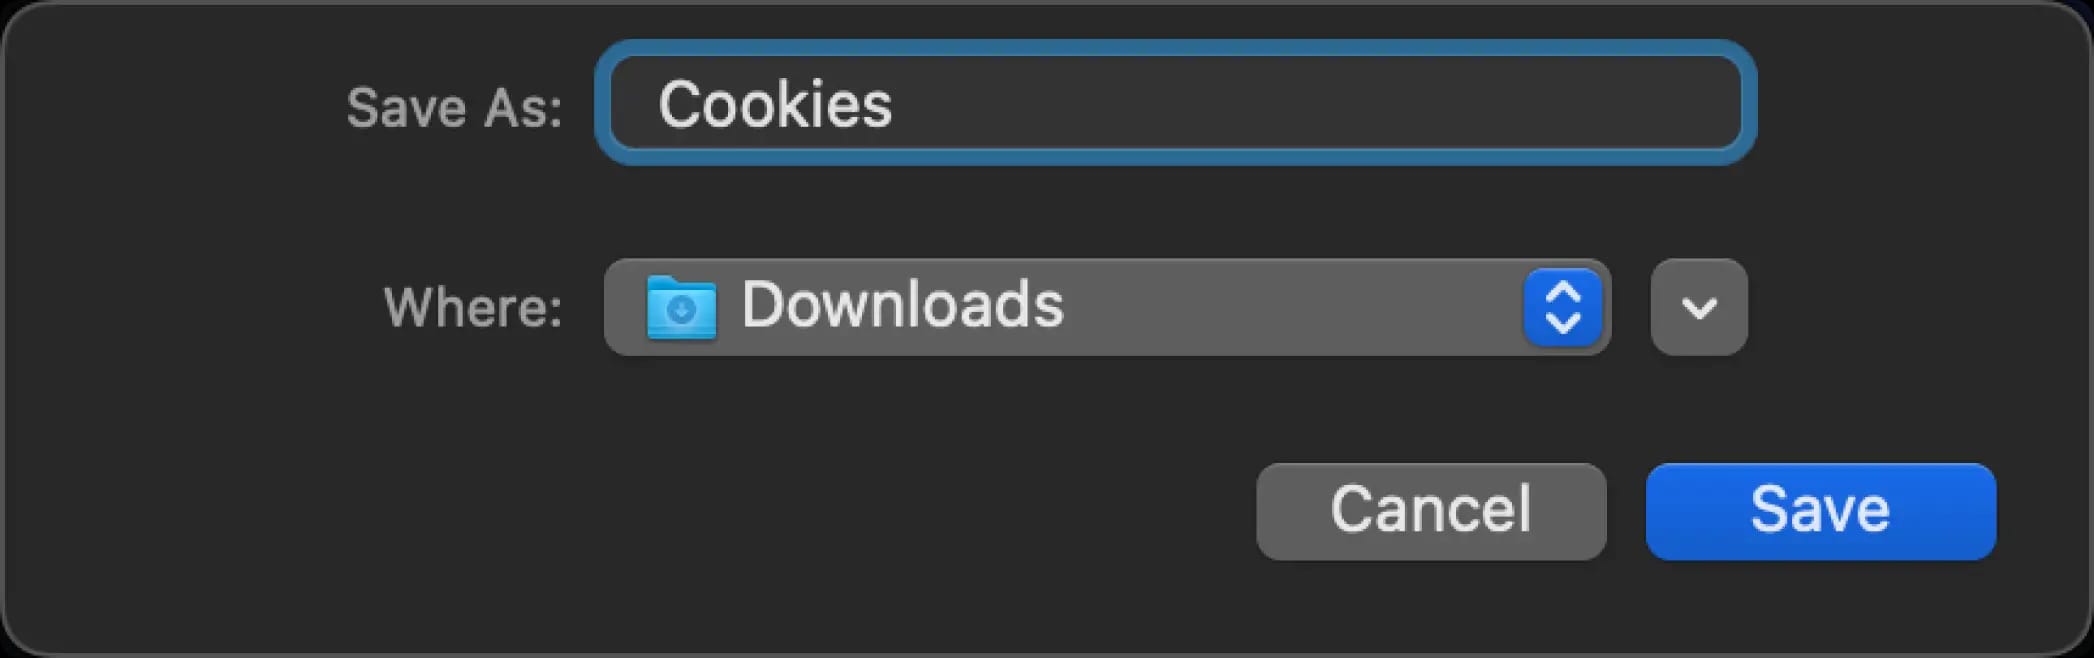
Export cookies - saves the profile's cookies to a file.
Clear data - clears all storage, including: cache, cookies, and history for the selected session.
Check proxy - tests the functionality of the installed proxy.
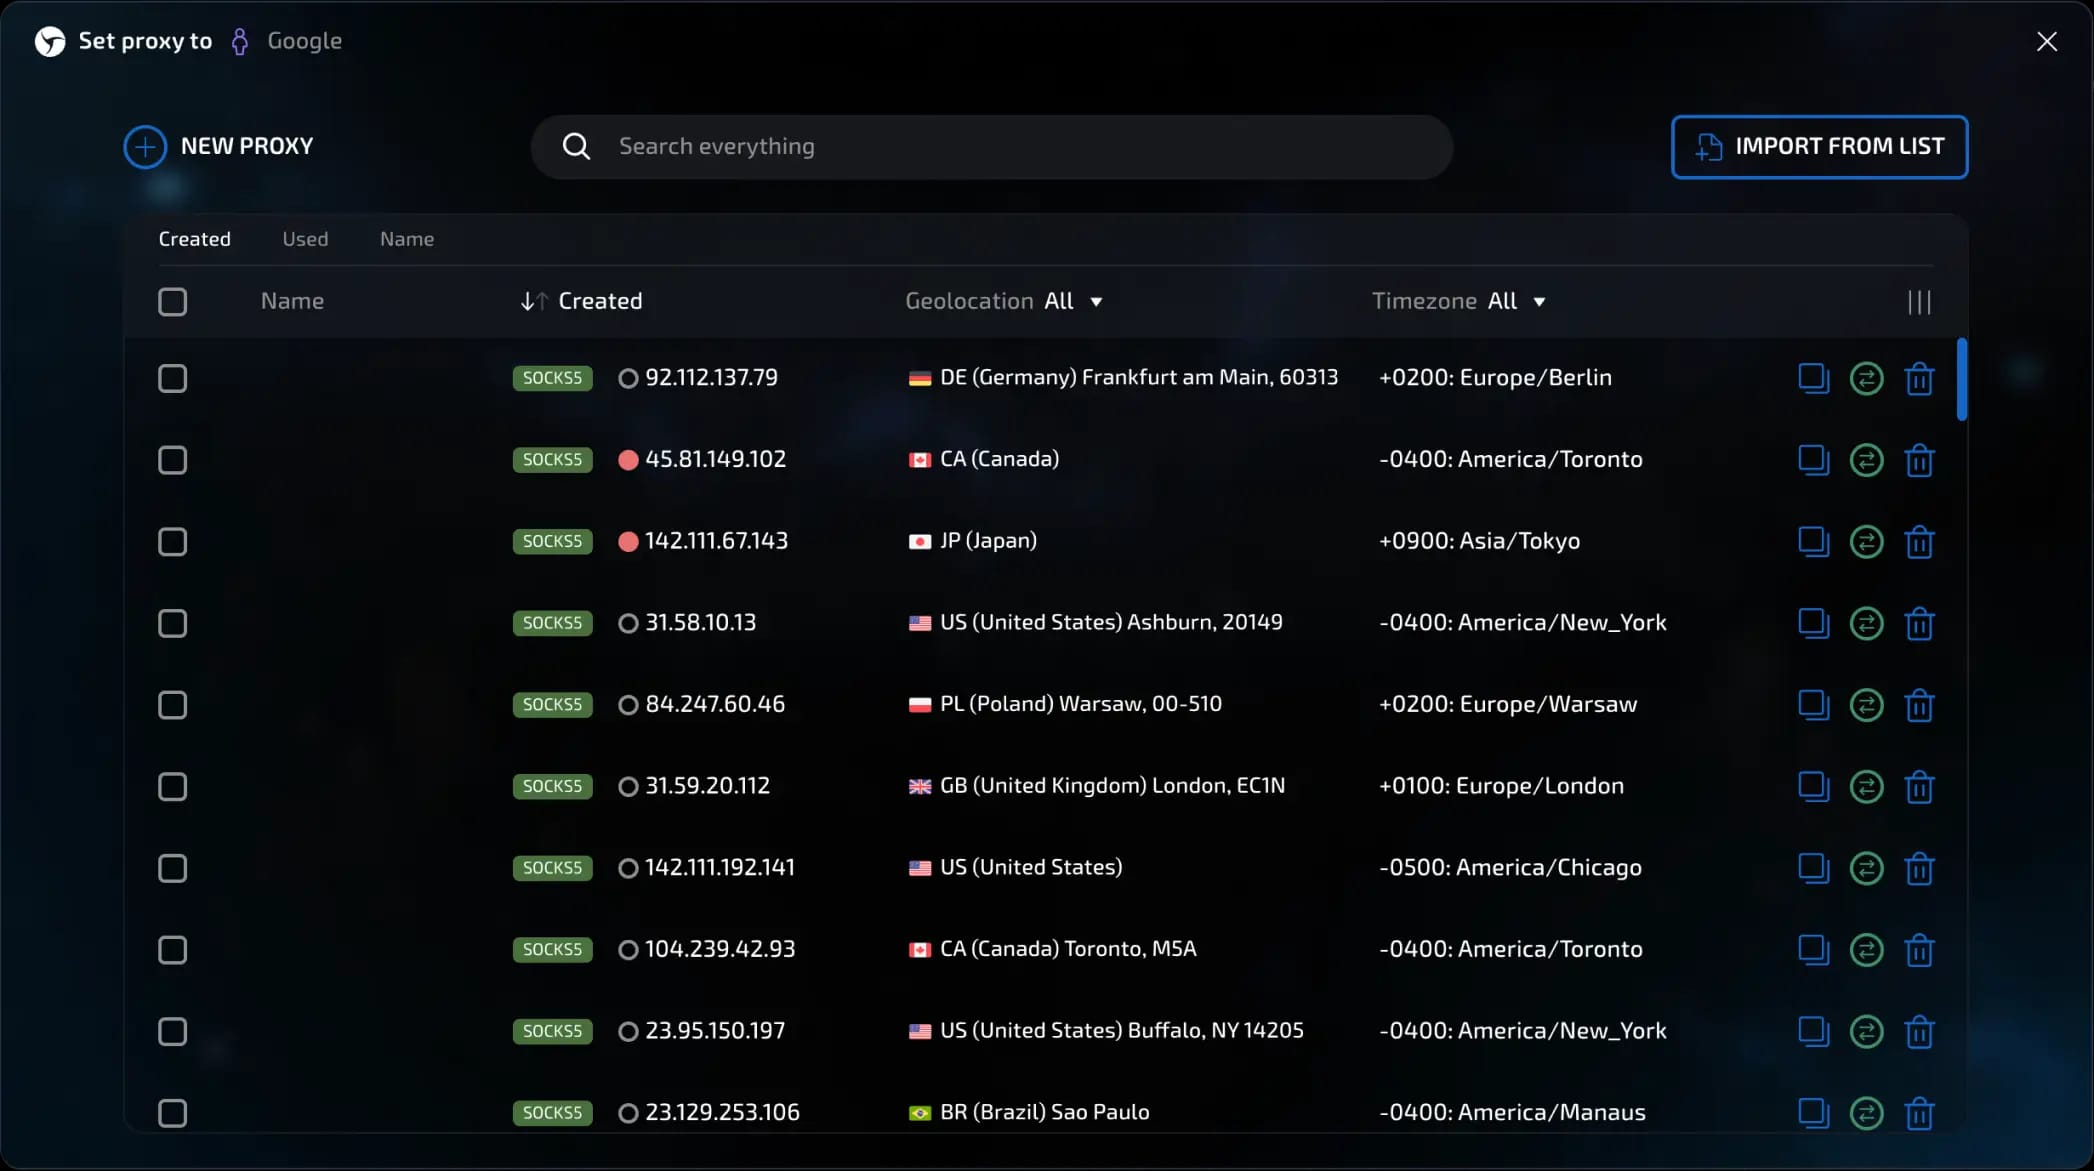
Set proxy - opens the proxy selection window from Proxy Manager
Change IP - sends a request to the Change IP URL specified in the session settings to change the proxy IP address (if the proxy service supports it and the link is specified).
Warm up - starts automatic cookie collection and activity in the browser (available starting with the Pure plan).
Change desktop - opens a window for selecting the desktop to which the transfer will be made.
Clone - creates a copy of the session with all settings and configuration, but with new fingerprints and empty storage (without cookies, etc.)
Send - sends the session to another Linken Sphere user (available starting with the Light plan)
Send to Nooklz - sends the session to the Facebook auto-fill service (available starting with the Pro plan, requires a separate subscription to the service itself and specifying the API key in the Linken Sphere settings)
Move to trash - deletes the session.
invisible text for space
After saving, the selected shortcuts will appear in the "Actions" column. Clicking on a shortcut immediately performs the action - for example, checks the proxy or starts warming up - without having to reopen the settings.
How to add additional columns
To add more columns with session information:
In the upper right corner of the desktop, click on the icon with three vertical sticks (display settings).
In the menu that opens, select the columns you want to add.
Changing the order of columns
You can change the order in which columns are displayed on the desktop:
In the column management menu, hover your cursor over the two horizontal bars next to the column name.
Hold and drag the column up or down to change its position.

Filtering and sorting sessions
You can use some of the columns to sort and filter the sessions displayed:
The first column for filtering (located at the session name level) is dynamic. The user can select a sorting criterion from the following options in the panel in the upper left corner: 1. Name (alphabetically) 2. Session creation time 3. Last use/start time 4. Last modification time (settings, description, connection, etc.) 5. Total time spent working with the session. Just below this panel, on the column name itself, you can: 1. Change the sort order (descending/ascending); 2. Up/down arrow icons - Switch the date/time display from relative (2 hours ago/13 months ago) to absolute (July 4, 2025, 2:34 p.m.); 3. Icon with a clock
OS (Operating System) - filter by session configuration (configuration type + operating system + browser)
Proxy - filter by connection country.
Statuses - filter by current session status.

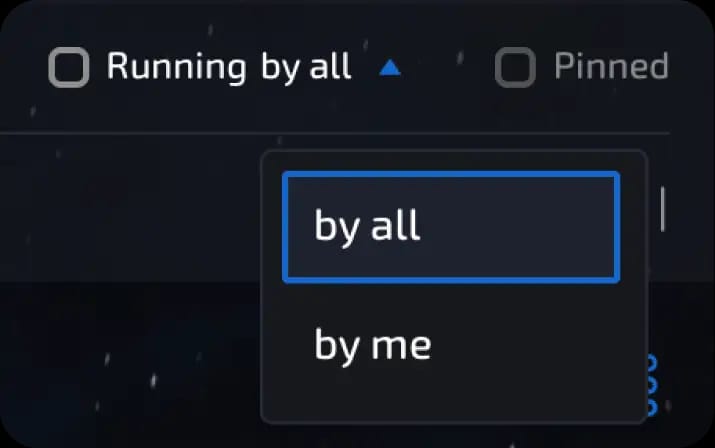
Additional filters (displayed in the upper right part of the interface):
Display only running sessions with 2 options: 1. running by any users (for example, when working in a team); 2. running by me (the current user under which you are logged in)
Display only pinned sessions
Additional actions (when you click on the three dots)
Action log
allows you to view the chronology of each session's life cycle and restore data from backups if necessary.
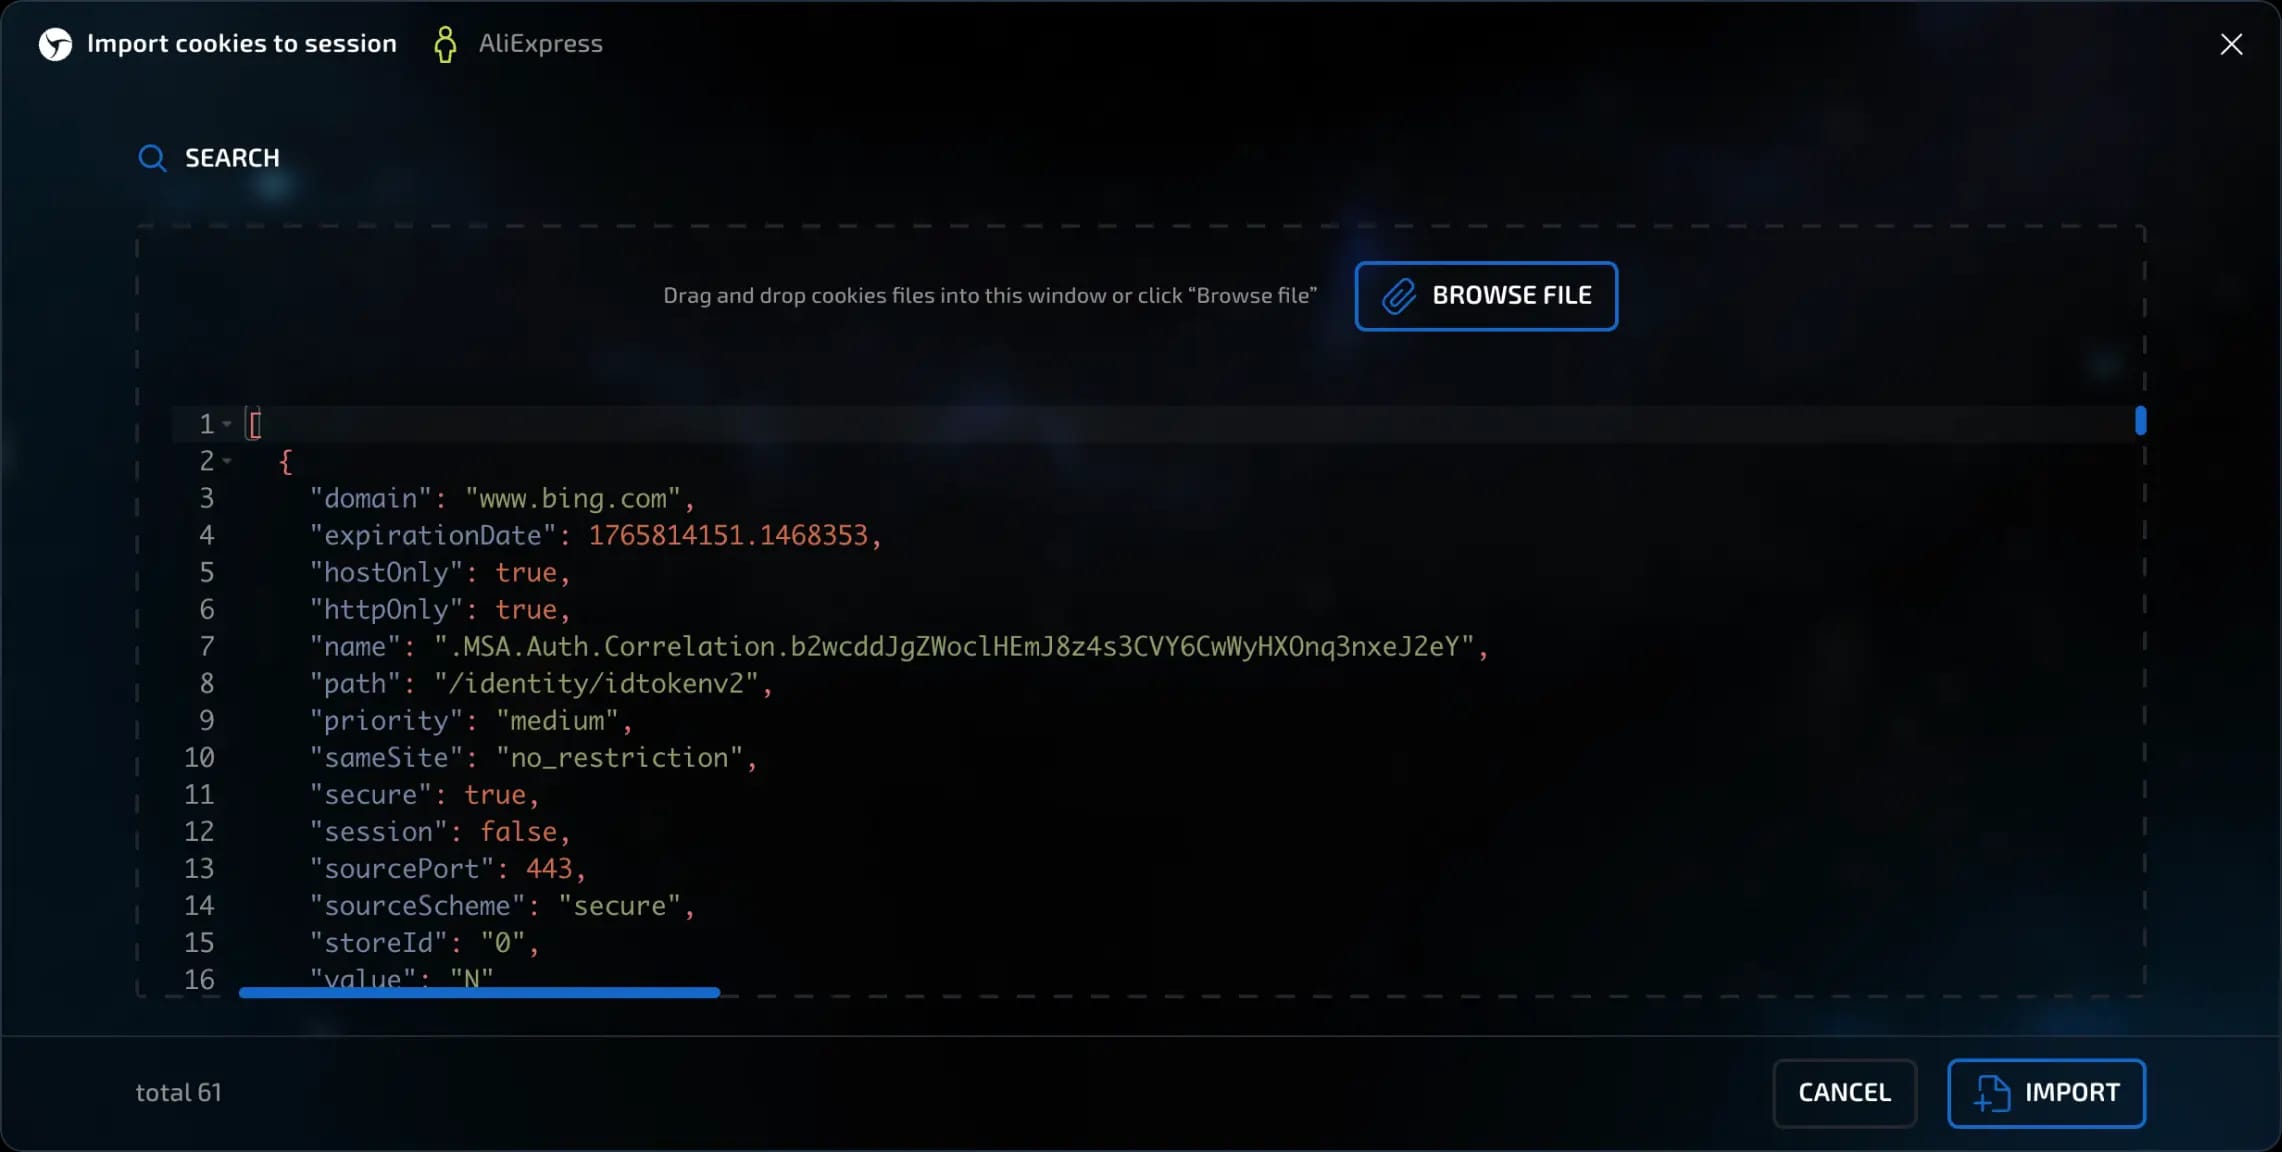
Import Cookies
Linken Sphere supports importing cookies in several formats:
JSON:[{
"domain": ".youtube.com",
"expirationDate": 1778164221.1763191,
"hostOnly": false,
"httpOnly": true,
"name": "__Secure-YEC",
"path": "/",
"priority": "medium",
"sameSite": "lax",
"secure": true,
"session": false,
"sourcePort": 443,
"sourceScheme": "secure",
"storeId": "0",
"value": "CgsyZlNpMVJNOEJrMCiAw8-_BjInCgJOTBIhEh0SGwsMDg8QERITFBUWFxgZGhscHR4fICEiIyQlJiBU"
}]
Netscape: .youtube.com TRUE / TRUE 1778164221 __Secure-YEC CgsyZlNpMVJNOEJrMCiAw8-
invisible text for space
Both options are supported.
How to upload cookies:
Using the file selection button ("Select file");
By dragging the file into the program window (Drag'n'Drop);
By pasting the text directly - if it is a valid cookie, the program will recognize it.
After clicking the Create button, a session is created with the cookies you imported.
Export Cookies
Cookies can be exported in two formats - JSON and Netscape. You can manage this in the global settings of Linken Sphere (gear icon in the upper left corner). Section Data > Item Default cookie file export format.
Clear data
You can delete all data from your session

Check proxy
You can quickly check the connection specified in the session
Set proxy
You can set a new proxy for the session (from Proxy Manager)
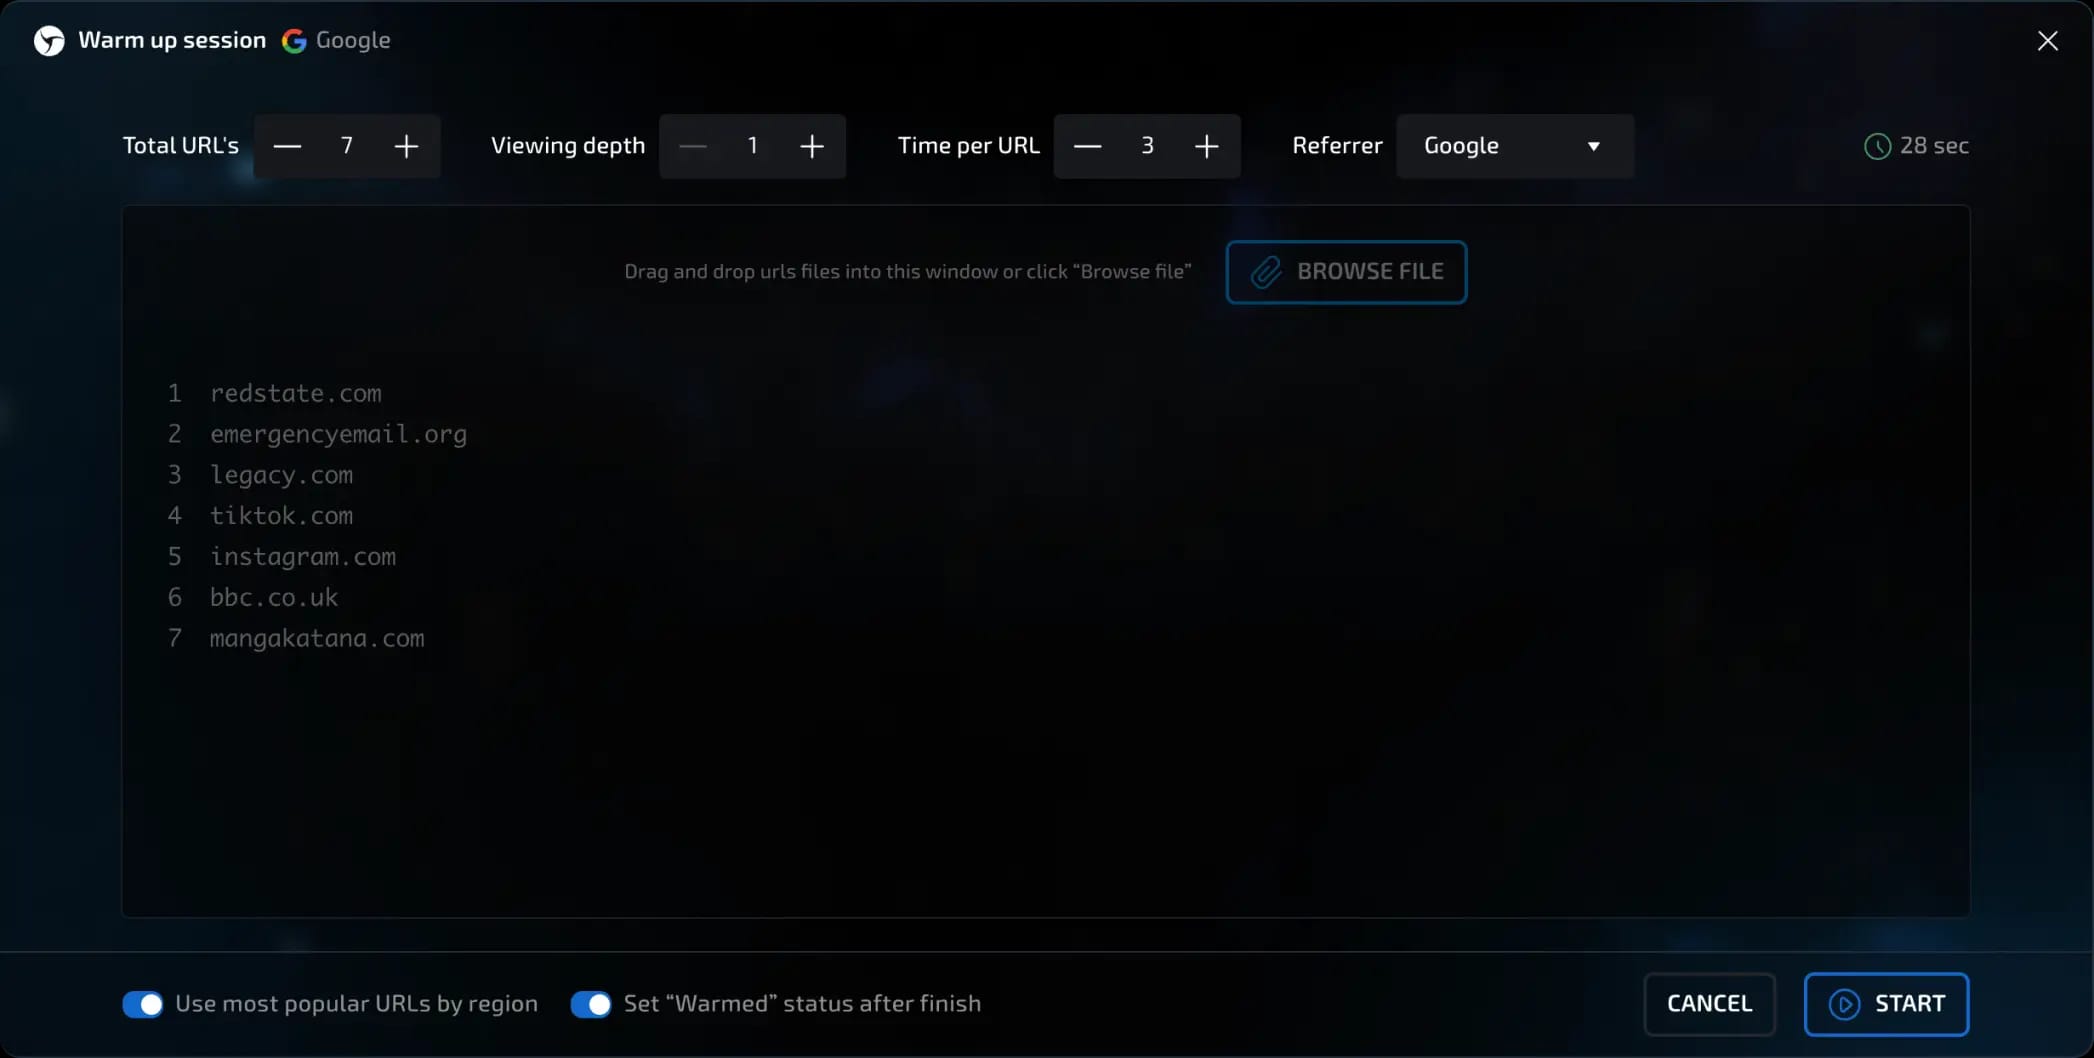
Warm up session
Warming up is the indexing of a session in search engines and advertising trackers by automatically visiting sites and resources that are popular in the location to which the specified proxy belongs. This action reduces the risk of being identified as a bot and increases the overall trust of the session by anti-bot systems.
Clone session
You can create an exact copy of the current session with all settings and configuration, but with new fingerprints and empty storage (without cookies, etc.).
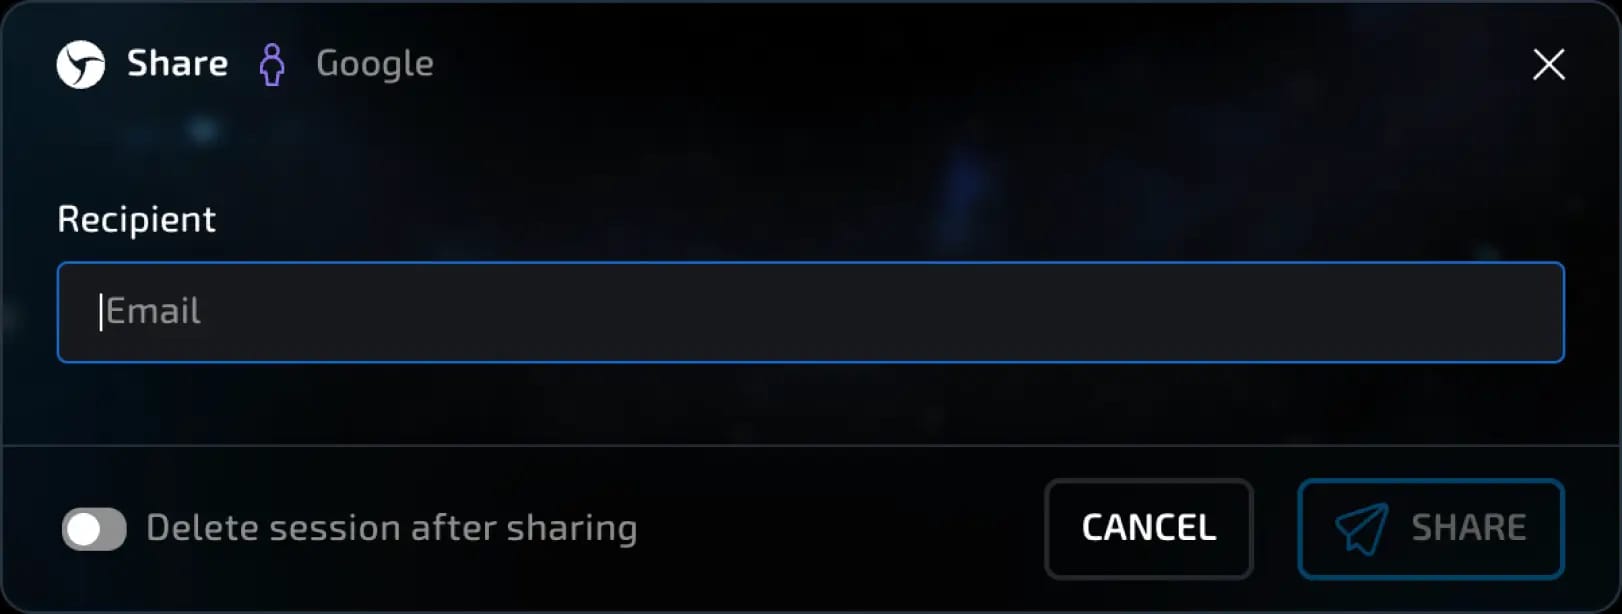
Send by email
You can send a session by email to any Linken Sphere user (available starting with the Light plan). When you click on this menu item, a window will open for you to enter the recipient's email address. After entering it, click the Send button. You can also select the Delete after sending function.
Pin / unpin session
control the position of the session on the desktop
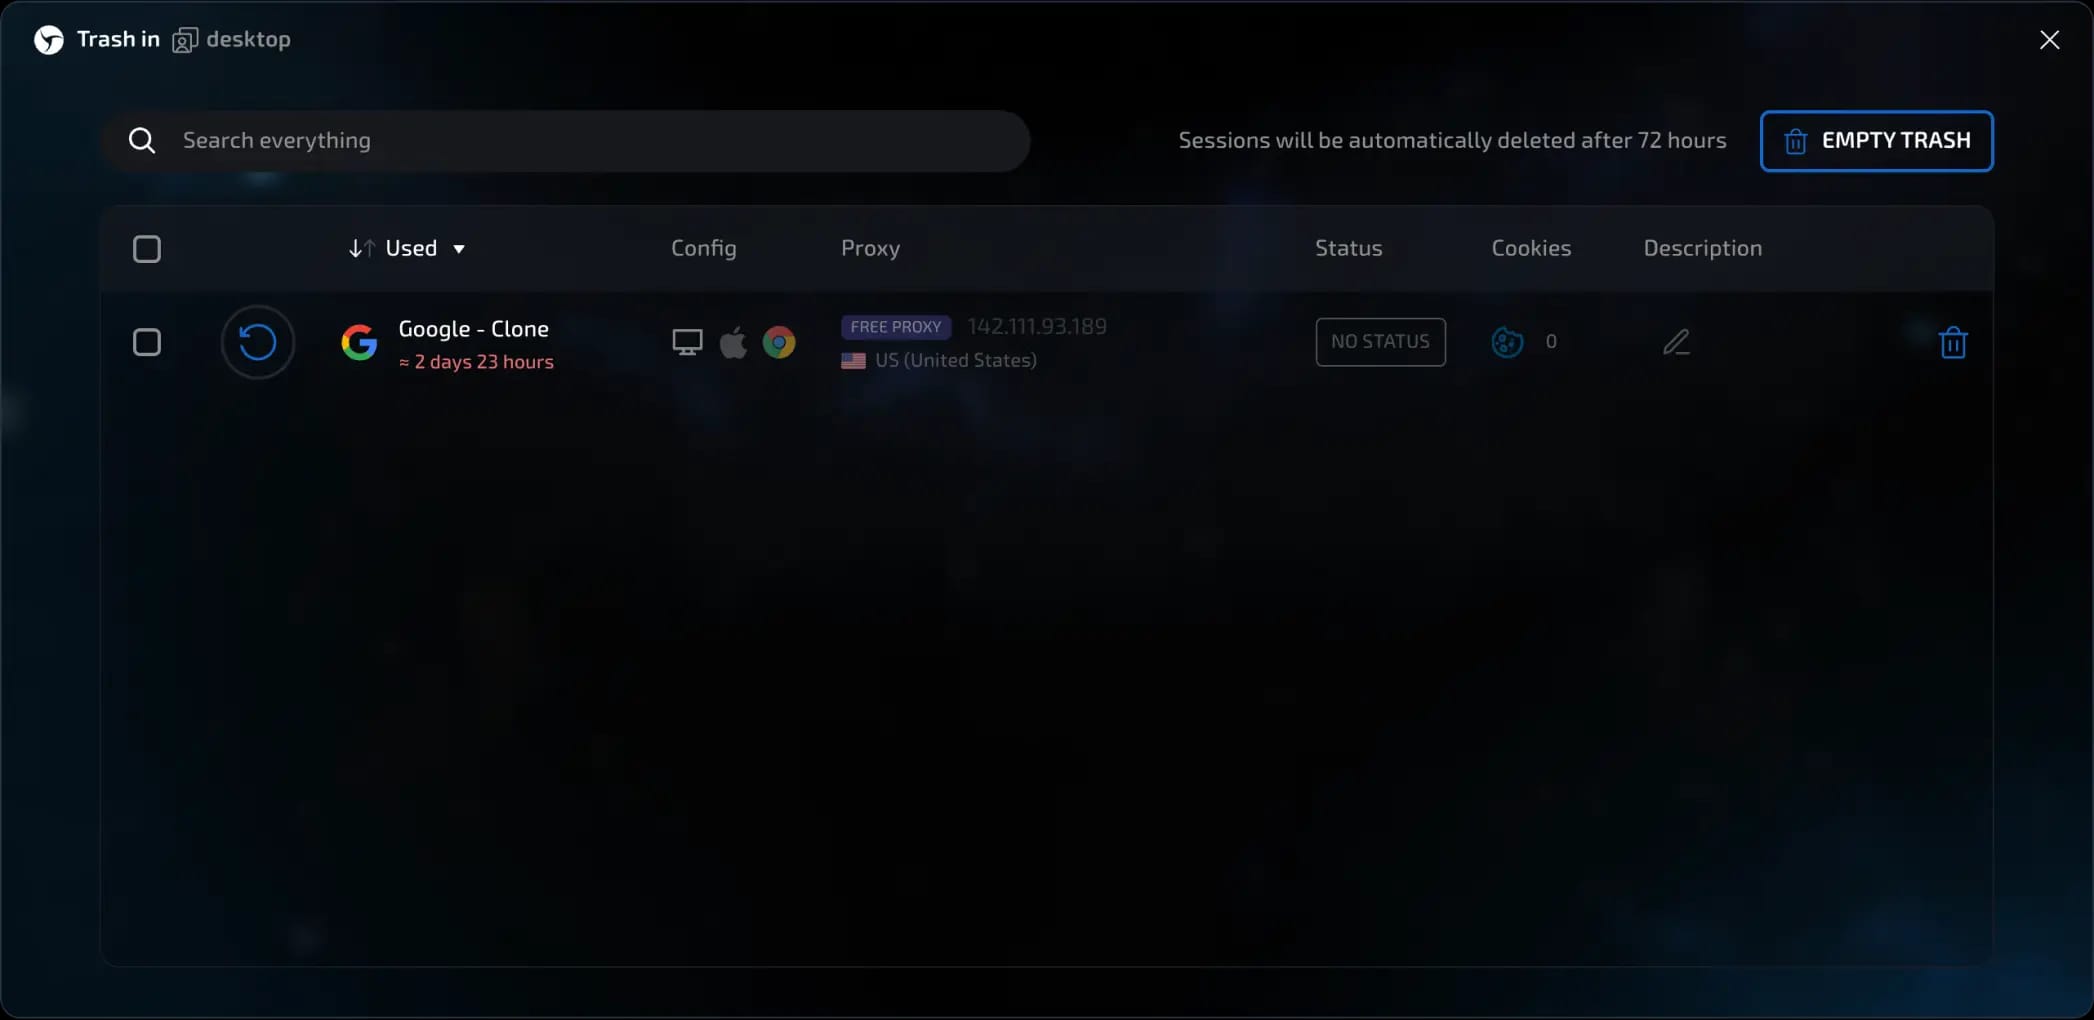
Move to trash
You can move your session to the Trash (stored and available for recovery for 72 hours).
IMPORTANT!!! You can recover a session from the Trash starting with the Light plan and above.
Previous page
Next page